Measure the length of your lattice sheet.
Cut 4 x lengths of the timber which are wide and long enough to cover the size of your lattice.

Lay down the lengths and widths of thetimber to create a frame.
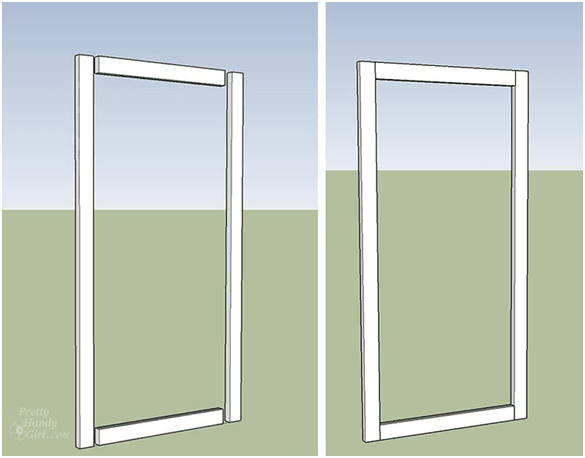
screw your frame together in each corner using galvanised hardware.
You are trying to create a rigid frame.
Place the lattice panel over your frame ensuring all sides are flush, straight and neat.
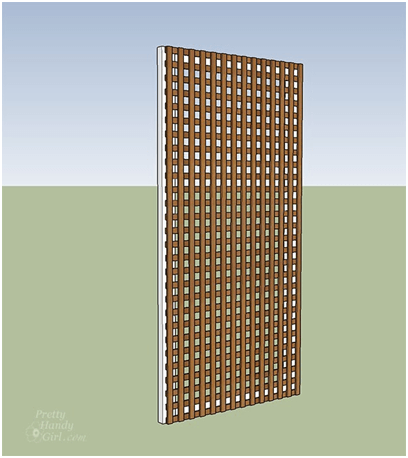
Place the remaining 2 x lengths and 2 widths of the timber over the top of the lattice panel to create a frame.
Make sure all sides are flush, straight and neat. Screw the frame into place.
Turn the panel over and screw the framework from the other side.
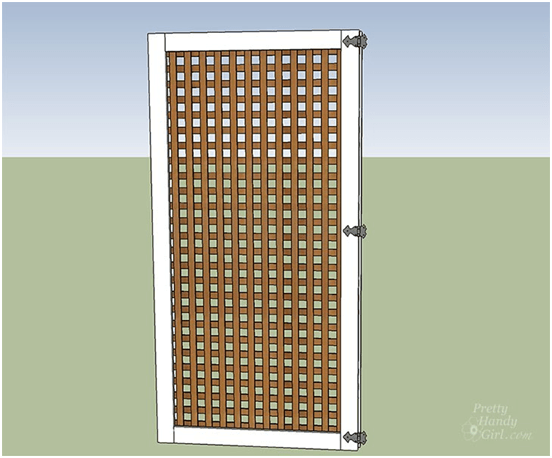
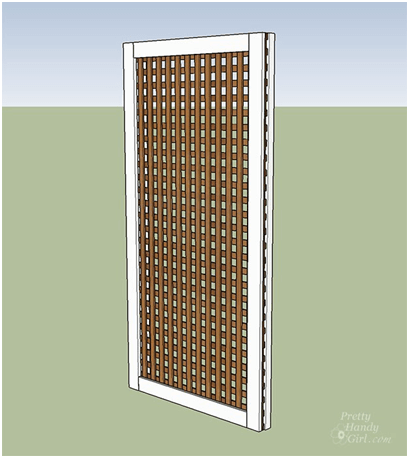
Now your lattice is framed on both sides.
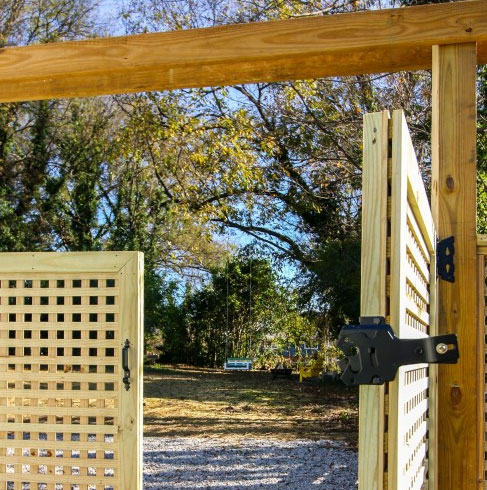
Add hinges to these panels to create a gate. Repeat all steps to create another gate.